



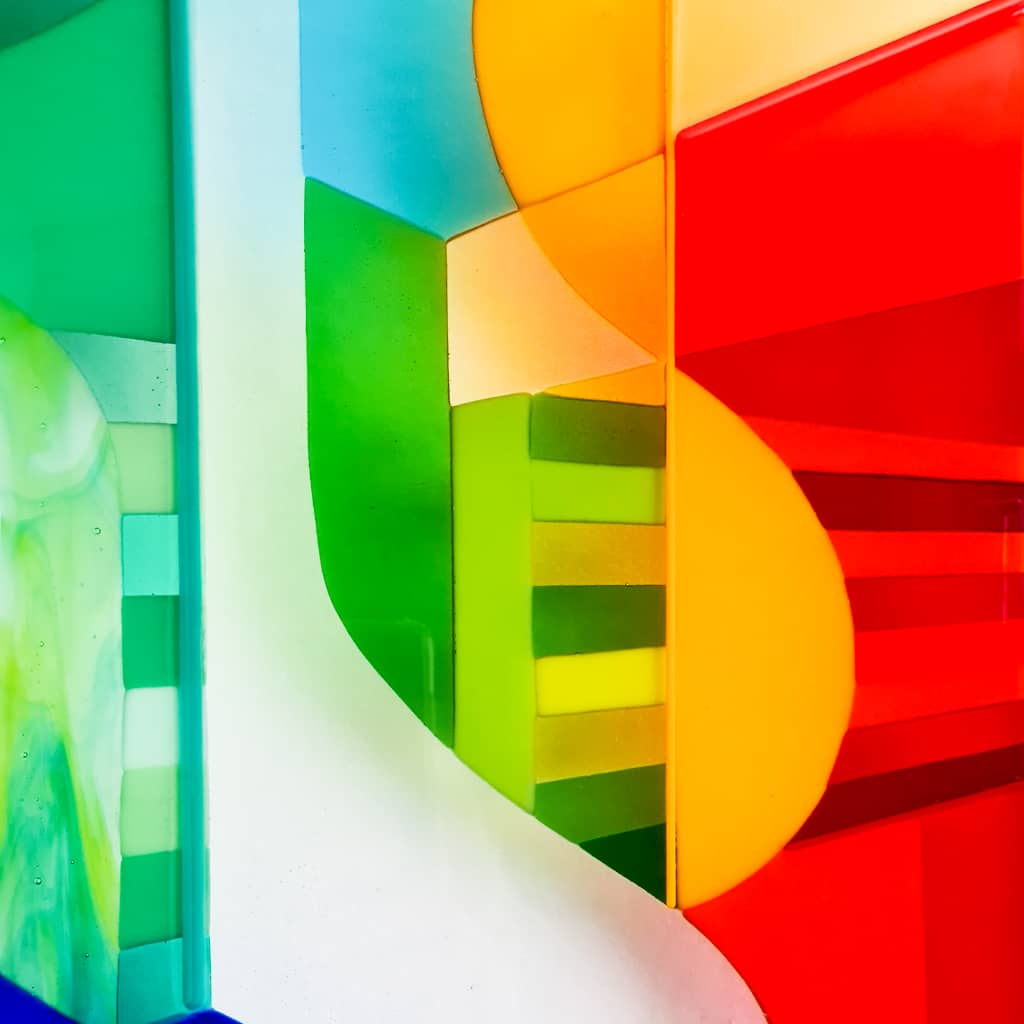


Vision to Glass: How Linda Rossiter creates Hard Edge glass art commissions
Every commissioned artwork begins with an idea
Sometimes it's a memory, sometimes a place, a favourite painting, a garden, a building or simply a feeling or idea that won't let go. Here's how those first ideas gradually become a finished Hard Edge glass artwork.
Every commission follows the same creative journey
Although every artwork is completely different, they all pass through the same carefully developed process.
Ideas become research.
Research becomes design.
Design becomes glass.
Glass becomes art.

PART 1 – FROM YOUR IDEAS TO THE FIRST DESIGN

Every commission begins in one of three ways.
1: A client wants to commission an art piece from scratch inspired by their own ideas

2: Or one of my existing works strikes a chord with them, and they want to reimagine it, but in a new way

3: Or it could be based on an artwork already displayed in your home
Everything goes through my initial research and design process.
Once we have an initial idea, I begin collecting visual inspiration. I start by photographing the places and things that inspire me, often architectural oddities or conundrums.
I call these 'Inspiration Days' - and they might be anything from a gallery visit like this amazing "Van Gogh Immersive Experience" - or or capturing skylines in the city - to a long walk along a canal, photographing graffiti!


Wells Cathedral
Inspiration often comes from architecture - like the arch in the vaulted ceiling of an ancient Saxon cathedral

Kew Gardens
- or perhaps an odd corner of a botanical garden where I might spot an unusually gorgeous panorama of plants, foliage, birds or insects, something that’s never quite seen in normal daily life

The British Museum
- or I capture some odd striking features of a place I’ve never studied cloesly before - like this amazing structure, which is the ceiling of the British Museum

With most client commissions, they’ll provide me with photographs and images that inspire them, and ask me to develop something from their ideas, which I’ll research further.
"Hi Linda! I found you on Instagram and absolutely love the work you do. I wanted to reach out about commissioning a piece for my wife in a style similar to her favorite art / artist but tailored to her as a Christmas / 40th birthday present for delivery in Seattle, WA in early December timeframe."
This first conversation is often the most important stage of the whole commission because it reveals what really matters to the collector.
It’s always interesting to work with a concept that comes from another person’s heart. I see it as an expression of them.

After reviewing all the research material, I start by pencil-sketching on a drawing pad until I get a strong feeling for the powerful lines, shapes and possibilities I’m imagining.
This is where your commission first begins to take shape.

I’m ready now to move to the computer screen to develop the Initial Line Design, the concept.
This takes many hours, as not only do I want it to look perfect, but I must be able to physically cut each piece in glass.

Once I’m really comfortable with the black and white line structure and overall shapes, I’ll add colours until the whole piece feels incredibly unified and exciting to me.
This is important as it’s this excitement that sustains me through the coming weeks of detailed glass cutting and grinding.
Only once the design feels completely right do I begin selecting real glass colours.
Research & design videos
Watch short studio videos showing how research and inspiration gradually become the first design
PART 2 – TURNING THE DESIGN INTO GLASS

Having a solid set of visuals, I print out the initial design full size on paper.
Before any glass is cut, every commissioned design is agreed with the collector.
I want them to feel happy at each stage and love what they see.

Next I lay little chips of actual art glass on the paper so I can get an idea how it will look for real, rather than just referring to artificial computer colours on a screen.
Photographs can only go so far. Seeing real glass colours together is often the moment a commission truly comes alive.

This also helps me see the balance of opaque to clear glass in the overall context, and check the colour contrasts are powerful and striking enough to align with my vision.
I like bold contrasts, always have.
Glass selection videos
Watch short studio videos showing how I choose and refine the glass colours for each commission
Knowing the exact colours I’m going to use, I start cutting the glass - sometimes up to 200 tiny pieces in a single work.
One of the differences between my Hard Edge style and other fused glass art styles is that my glass pieces each need to fit perfectly, exactly together.
This precision is one of the defining characteristics of Hard Edge glass art.
No gaps, ever!
"Your art is your own unique style. Just to view a piece, I know it’s your art. That makes you very unique!"
Already feel ready to discuss an idea?
You do not have to wait until you understand every technical stage.

To achieve my Hard Edge style, I've had to take glass cutting to a new level of precision.
"You are truly amazing. I love all your work. I totally appreciate how much work goes into a piece like this. I so wish my cutting skills were as good as yours."
Yes, it's painstaking but essential, as it’s the only way to get the Hard Edge effect I’m looking for, and avoid any fuzzy fused look, painterly look, or the need to physically brush paint on the glass.
The crisp geometric edges are one of the defining features of every Hard Edge commission I create.

Hard Edge glass art
'Cobalt Cathedral'
Glass Art by Linda 2025

Non-hard edge glass
An example of frit glass painting from Angela's Art Glass

After a week or two - or more - the pieces of art glass are all cut and assembled.
I can now see the whole pre-fused work in front of my eyes, and confirm it satisfies my original vision.
It’s always wonderful to see something that’s just been on paper until now!
Cutting glass videos
Watch short studio videos showing how individually cut glass pieces gradually bring each Hard Edge artwork to life
PART 3 – BRINGING THE ARTWORK TO LIFE

Before the now-assembled work can go in the kiln for firing, every piece must be scrupulously cleaned.
I use an ultrasonic cleaner for this, as anything less than spotless cleaning can lead to an imperfection in the final result - and this might jeopardise the whole effort.
As you can imagine, I had to learn this the hard way!

Laying 100-200 pieces on the kiln shelf can’t be rushed, as the project has now become a giant jigsaw that must fit absolutely flush, piece-to-piece, to get the perfect Hard Edge effect.
Building in the kiln videos
Watch short studio videos showing how individually cut glass pieces are carefully assembled to create a seamless Hard Edge artwork

The kiln also needs programming with careful temperature gradients so it goes up to maximum heat of 796°C in a controlled way, and the same when cooling down.
It’s called annealing.
Temperatures and time matter if I’m to get the effect I’m looking for, and also to ensure the strength of the final work.
The settings will differ from piece to piece.
Opening the kiln and finally seeing finished art is a big happy moment for me, as this is weeks of work at last made real.
I love videoing these initial moments when I take a new work out of the kiln for the first time.
It's also the first time I see exactly what the collector will soon experience.
"How do you feel when you open the kiln?"
Such a huge amount of joy, every time 😍
It's so exciting to see weeks of work coming together for the first time - seeing hundreds of pieces of art glass fused together as one artwork.

Opening the kiln videos
Watch short studio videos capturing the first moment each finished artwork is seen
PART 4 – THE FINAL DETAILS

Further sanding and polishing is still needed, before a final Fire Polish.
If the plan calls for it, I may add stringers and extra glass highlights to enhance the surface and strengthen certain key architectural lines, and also improve how the work catches the light.

If it’s a bowl or 3D form, it’ll also need an extra kiln session to slump it into shape.

All these final touches give the work its maximum impact.
Perfecting the glass videos
Watch short studio videos showing the final kiln firings and finishing processes that bring each artwork to completion
Over many years I've refined this process so every commission develops naturally from an initial conversation into a finished contemporary Hard Edge glass artwork.
Every stage exists for one reason: to create an artwork you'll be proud to live with for many years.

Read what collectors say about working with Linda
Your artwork begins with one conversation
You do not need a complete design or a detailed plan.
A memory, place, subject or beginning of an idea is enough.